


Unattended Motorized Image Capture System with Prior Reconditioned Stage
This advanced motorized imaging system is designed to operate autonomously, allowing efficient and accurate image capture under a variety of microscopy conditions. Equipped with a high-quality reconditioned stage, it offers superior performance at an affordable cost.
Main Components:
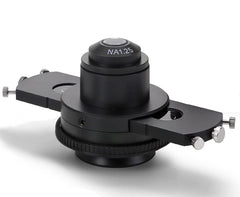
- Prior-Pro Stage H101 Reconditioned Stage: Ensures precise and stable movement for high-quality image capture.
- Prior PS300 Controller: Provides smooth, efficient control of system motion.
- Prior-PSJ100 Joystick: Facilitates system operation, allowing intuitive and comfortable handling.
Main Features:
- High Productivity at Low Cost: High Throughput Microscopy system that offers efficient and low-cost capture.
- Automatic Panoramic Image Capture: The system allows the capture of panoramic images without limitations on the number of images.
- Sample Capacity: Holds up to 4 sample holders (75x25 mm) per unit.
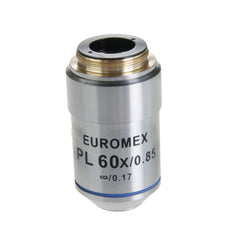
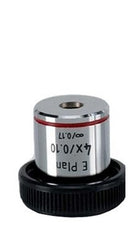
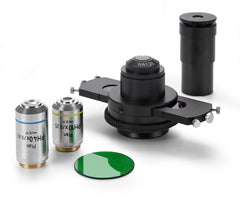
- Full Compatibility: Works with all microscopy techniques including transmitted light, epi-fluorescence and materials analysis.
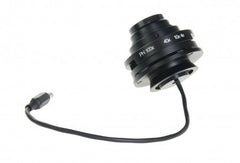
- Autofocus System: Ensures sharp images with autofocus, eliminating the need for manual adjustments.
- 3-Axis (X, Y, Z) Mosaic Capture: The system allows the capture of mosaics in image matrices without image limit.
- Automatic Panoramic Image Generation: The included software automatically creates a panoramic image from the captured matrices.
- Square Spiral Motion Algorithm: Uses a square spiral motion algorithm (XY - n^2 matrices) to optimize image capture.
- Easy-to-Use Microscopy: With a user-friendly and easy-to-use interface, this system is ideal for users of all levels.
Benefits:
- Unattended: Allows automatic image captures to be taken unattended, saving time and effort.
- High Quality Integrated Images: Capture multiple fields at different depths of focus, creating integrated images with the best focus areas.
- Reliability and Traceability: Provides consistent and traceable results, suitable for applications requiring high precision.

samples. In each of the entries we can select a type of sample according to the size of the wells
and the number of them in the sample. If we do not select anything in any of them, it will not be
will be taken into account when scanning the sample in the following tabs.

In this tab the user should carry out the initial configuration of the image capture system,
that is, choosing the gain values, selecting the exposure and manually focusing the sample. We must also
choose, as required, the directory where the captured images will be saved. And optionally,
choose another name for the image or images that we will save. If you do not select it, it will be used
the name that appears by default. On the other hand, and so that this name is not repeated from previous experiments,
an incremental added to the same name would be created

In this section we give the user the possibility to move to the center of the wells that we have in each one.
of the sample holders loaded into the system.
We will choose the following options:
“Sample Container” with which of the four sample holders do we want to work?
“Sample” is the type of sample that we will find in the selected position. We will have to
Select this data because it will provide us with the data to get to the center of the well where we
we want to locate, that is, the XY position relative to the beginning of the platen.
"Well" which of the wells we have in the sample is where we want to go
“Move center” the button that executes the movement to the center of the selected well
 In this section we will have the option to capture the images of the different wells, so
unattended, and then save the obtained data in a given directory.
Buttons and screen elements:
“Capture wells” starts capturing images for the wells we have selected. There are
to keep in mind that every time we start the capture of a well, before starting the
program will perform the autofocus function for the current well.
The number of images captured will be given by the width of the well we are scanning and
the width that the camera gives us, depending on the lens we are using at that time
(OBJ section parameter in configuration ini file)
“Stop Capture” stops the capture of the current well, but not of the overall capture. That is, if
We have selected to scan wells 1,2 and 3, and we are processing the first one, it will stop
capture but will continue with the next one on the list


- Choosing a selection results in a full page refresh.